Gingerbread Greenhouse: Final Reveal
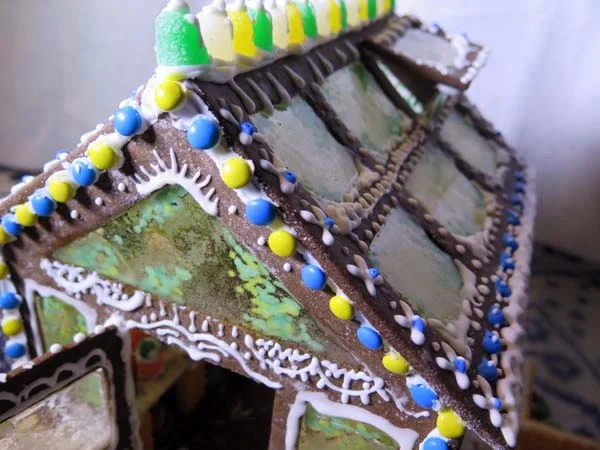
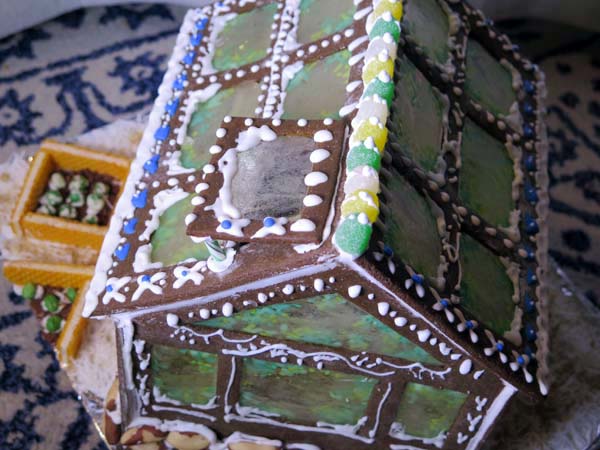
Here it is, in all it's glory. The gingerbread greenhouse! This was a marathon of a baking project. We went little by little, but when I think back, it certainly took a considerable amount of time!

One of my favorite parts about this house is how there is interest on the inside and out; peering into the greenhouse through the front door or the vented window recreates some of the mystery you feel when looking into a life-size greenhouse. The light passing through the windows invites you to look inside and see all of our teeny tiny plants. 

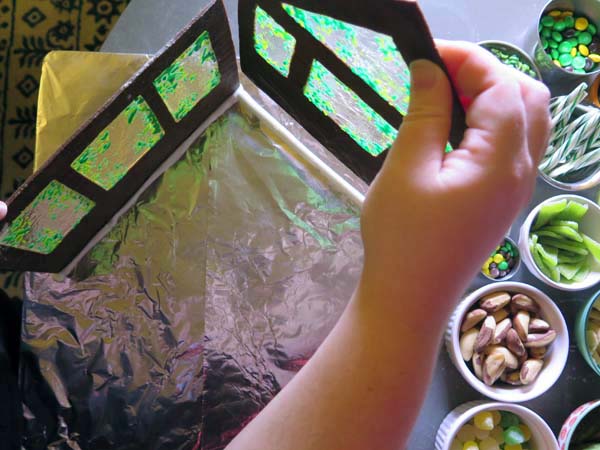
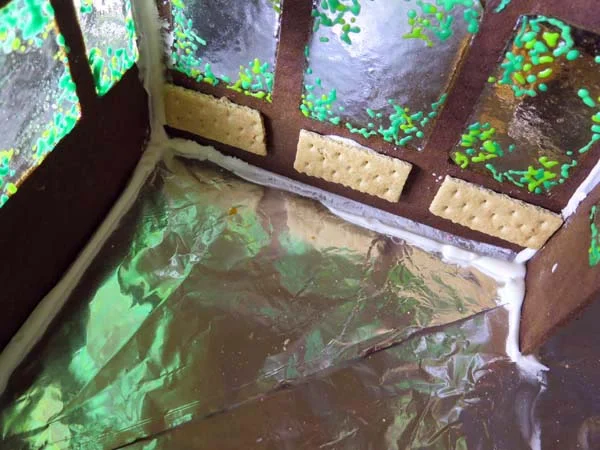
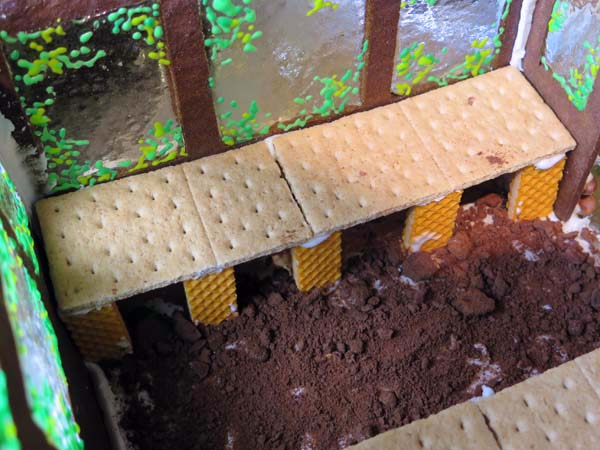
Everything we used to make the house is edible, except for the base, which is a cookie sheet covered in foil. For the outside decoration I added piping and candy edging, made from mini m&m's, and spicedrops. The ground has some coconut snow, and Nilla Wafer dirt, as well as Nilla Wafer Stepping stones. I added my favorite brazil nut stone wall to the lower half of the greenhouse, and some raised beds in the yard, and a little potted plant props the door open in the front. 

Thank you for reading a long with us this year! We hope you've had an excellent holday season; we're ready to start of 2016 with a bang!

Gingerbread Construction and Decoration

The choices, the choices! For the decoration of the gingerbread greenhouse we had a job that was two-fold, we had to decorate the outside of the house but also needed to create the plants for the inside of the greenhouse. This year we went down the dried veggie route more than we have in years past. I'm not even sure what some of the things were that we decided to use, but we searched for objects that could turn into plants. Whole Foods had some dried okra that was especially odd, but made for a great cactus in the greenhouse. Another favorite was the package of sour green strips, they have perforations to tear, and they made good plants too.

Before constructing the walls and adding the decoration I used three colors of royal icing to pipe on leaves on the inside of the greenhouse windows, so it looks as if there are leaves that have been pushed up against the glass. I tried the traditional vine look at first, but it looked clumsy, so I just went back to adding small dots and ovals to simulate leaves. In some areas I went over the frst layer of green with another color to add some depth to the leaves.

Once the windows were dry from the piping, I mixed up some construction royal icing to erect the walls. The walls  were so pretty on their own, with the greenish light shining through! The house would have been beautiful just like this but we needed some decorations to add to the holiday magic.

Once the walls were up, we started with the inside, and added graham cracker work benches with wafer cookie legs. The back of the tables were supported by graham cracker cleats that we attached to the walls of the house. The dirt floor was created with ground chocolate teddy grahams.

We created a menagerie of plants to grace the inside of the house. Gumdrops and spice drops were the base of most and used for teracotta pots, as well as some stacked wafer cookies. For the plants, the dried veggies were heavily used, such as the green beans, okra, dried peas, and wasabi peas; you can't beat turning a plant into a plant, but we also used some gummies and other additions for some variety and whimsy.

IMG_6540.jpg

I love the view of the plants from above before the room went on. The little guys were hard to place and Ben used some chopsticks for the final placement. We did an initial plant layout, and then went through and added some icing to the base to secure the plants. Some of them were a little top heavy, so they needed some stability added. We could have just placed them but if they'd fallen once the roof went on, it would be pretty hard to fix. It's easier to do it right the first time, I think.

IMG_6555.jpg
IMG_6588.jpg

And here comes the roof! This gingerbread house was the most complicated that we've ever undertaken, but once you can make something like this stand up, you feel like any of your gingerbread house dreams can come true. The final reveal is coming next, with all of the piping and candy added to the outside.

You're in the depths of gingerbread creation with this post, if you want to back up to some of the basics, here are links to our gingerbread posts from 2014 and our process for pouring the sugar windows for this year.

Recipes: 'Tis the Season For Gingerbread
Construction: Gingerbread Construction Zone: From Templates to the Build
Decorating: Candy: The Final Frontier
Sugar Windows: Window Installation: Pouring Sugar