The Gift of Green
/
You would probably be surprised to know that someone who loves the Christmas holiday season as much as I do has a terrible time brainstorming gifts to give. I love to give gifts; I want every gift I give to be the most magical, thoughtful, and beautiful thing that the person has ever received! Lofty goals, right? However, there is a range of problems I encounter every year when the subject of gift giving comes up. . .
- I know that throughout the year I saw a million things to give this person and now I can't remember any of them. . .
- This person buys everything that they want through the year, so now I have no idea what to give them . . .
- I want to spend the time and make a gift for this person, but I want to make sure it is something they value. . .
After running through a variety of thoughts like those listed above, I always end up at my most frequent concern: what do I give that shows that I care, and doesn't contribute to the overabundance of STUFF in my friend's homes?
I've experimented with different edible gifts for friends, but it never satisfies me as a gift giver; while I don't want gifts to collect dust, I don't want them to disappear as thoughtlessly as food does, especially around the holidays.
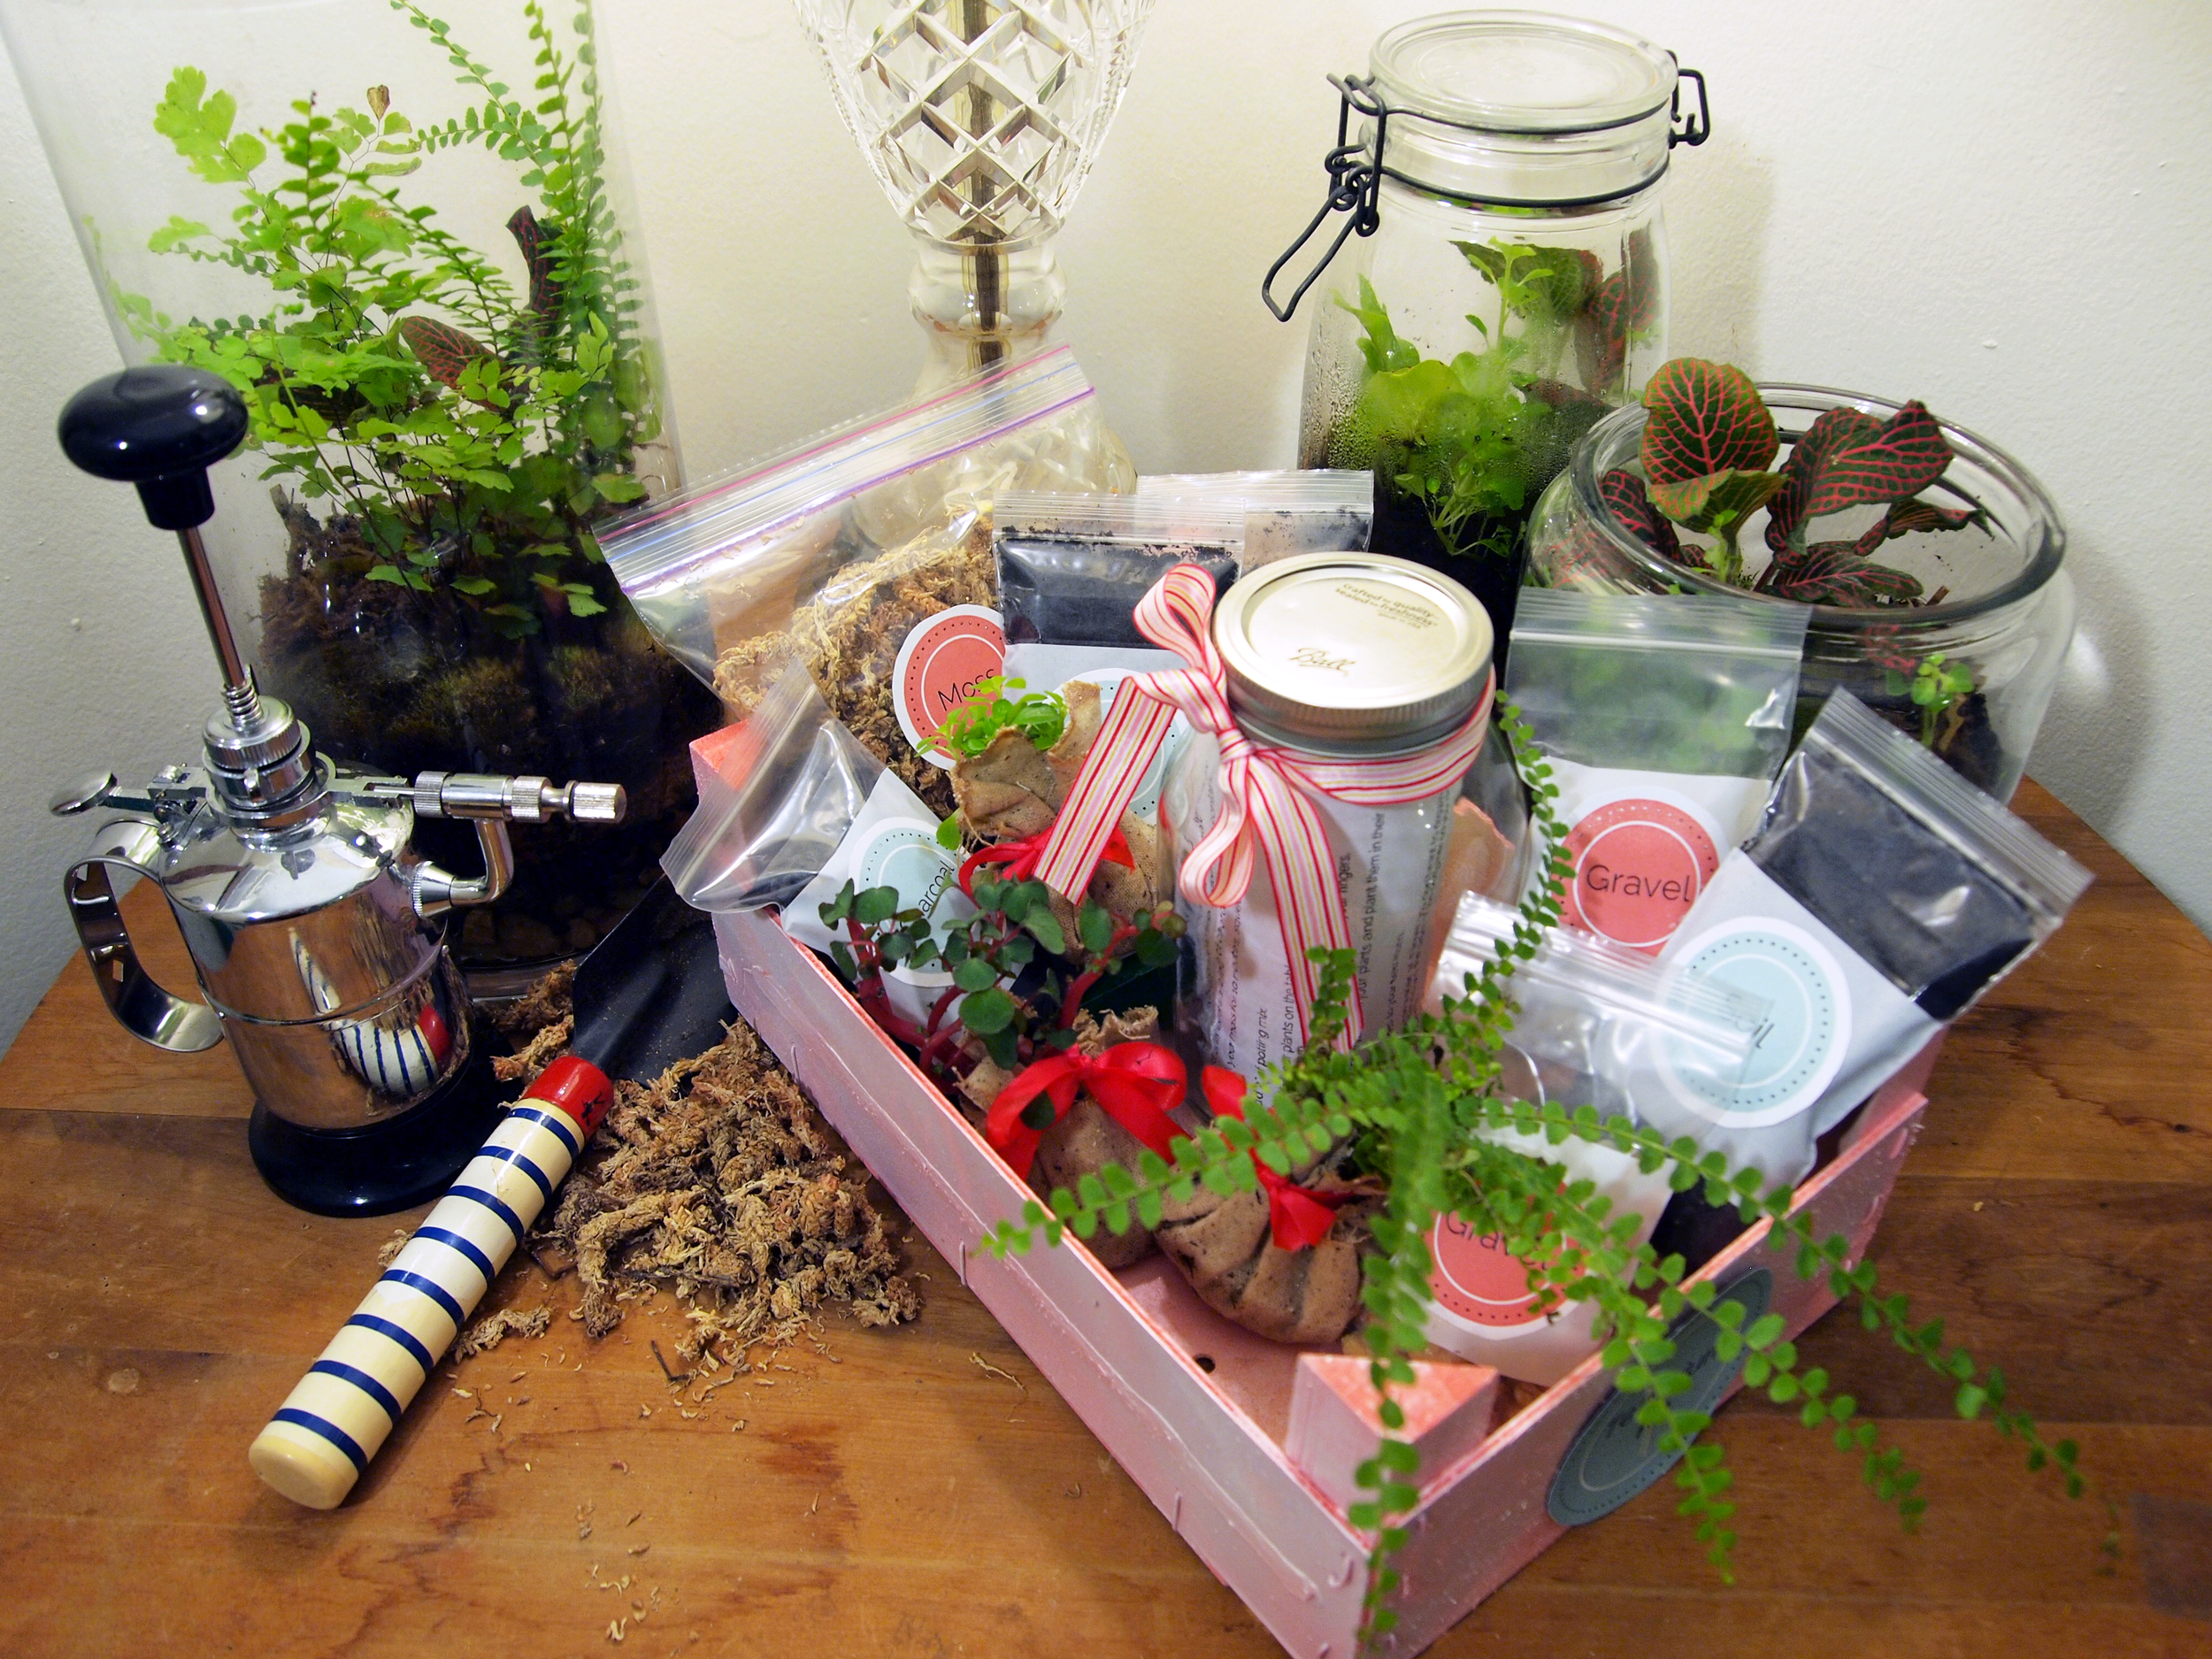
Looking back on past seasons, I fondly remembered some unique plants that I gave to friends in the past, so I started to think about a new, creative way to give plants and living things to friends. Ben and I are plant people--no question. I am also a lover of the cute and tiny so this led me to the idea of terrarium kits. I have lusted over terrariums for years, but never made the commitment to buy the supplies. It always seemed like such a big purchase, but when you are buying for multiple terrariums you can split the large supply bags up into individual portions for your terrarium kits, and spread the terrarium love around. Plus, terrariums need very little attention since closed terrariums essentially exist in their own biosphere and recycle water.
This kit can be personalized in many different ways: the size and shape of the glass container, the plants themselves, the accessories! You can add gardening supplies, like clippers, gloves, a beautiful watering can, or you can add terrarium accessories like figurines, tiny furniture, or tiny birdhouses. The accessories can all be theme based, it could be a Christmas terrarium with Santa or elf figurines; you can wish for warmer days and add sun umbrellas and Adirondack chairs. The possibilities are truly endless. I can't wait to see yours! Share it with us!
Directions
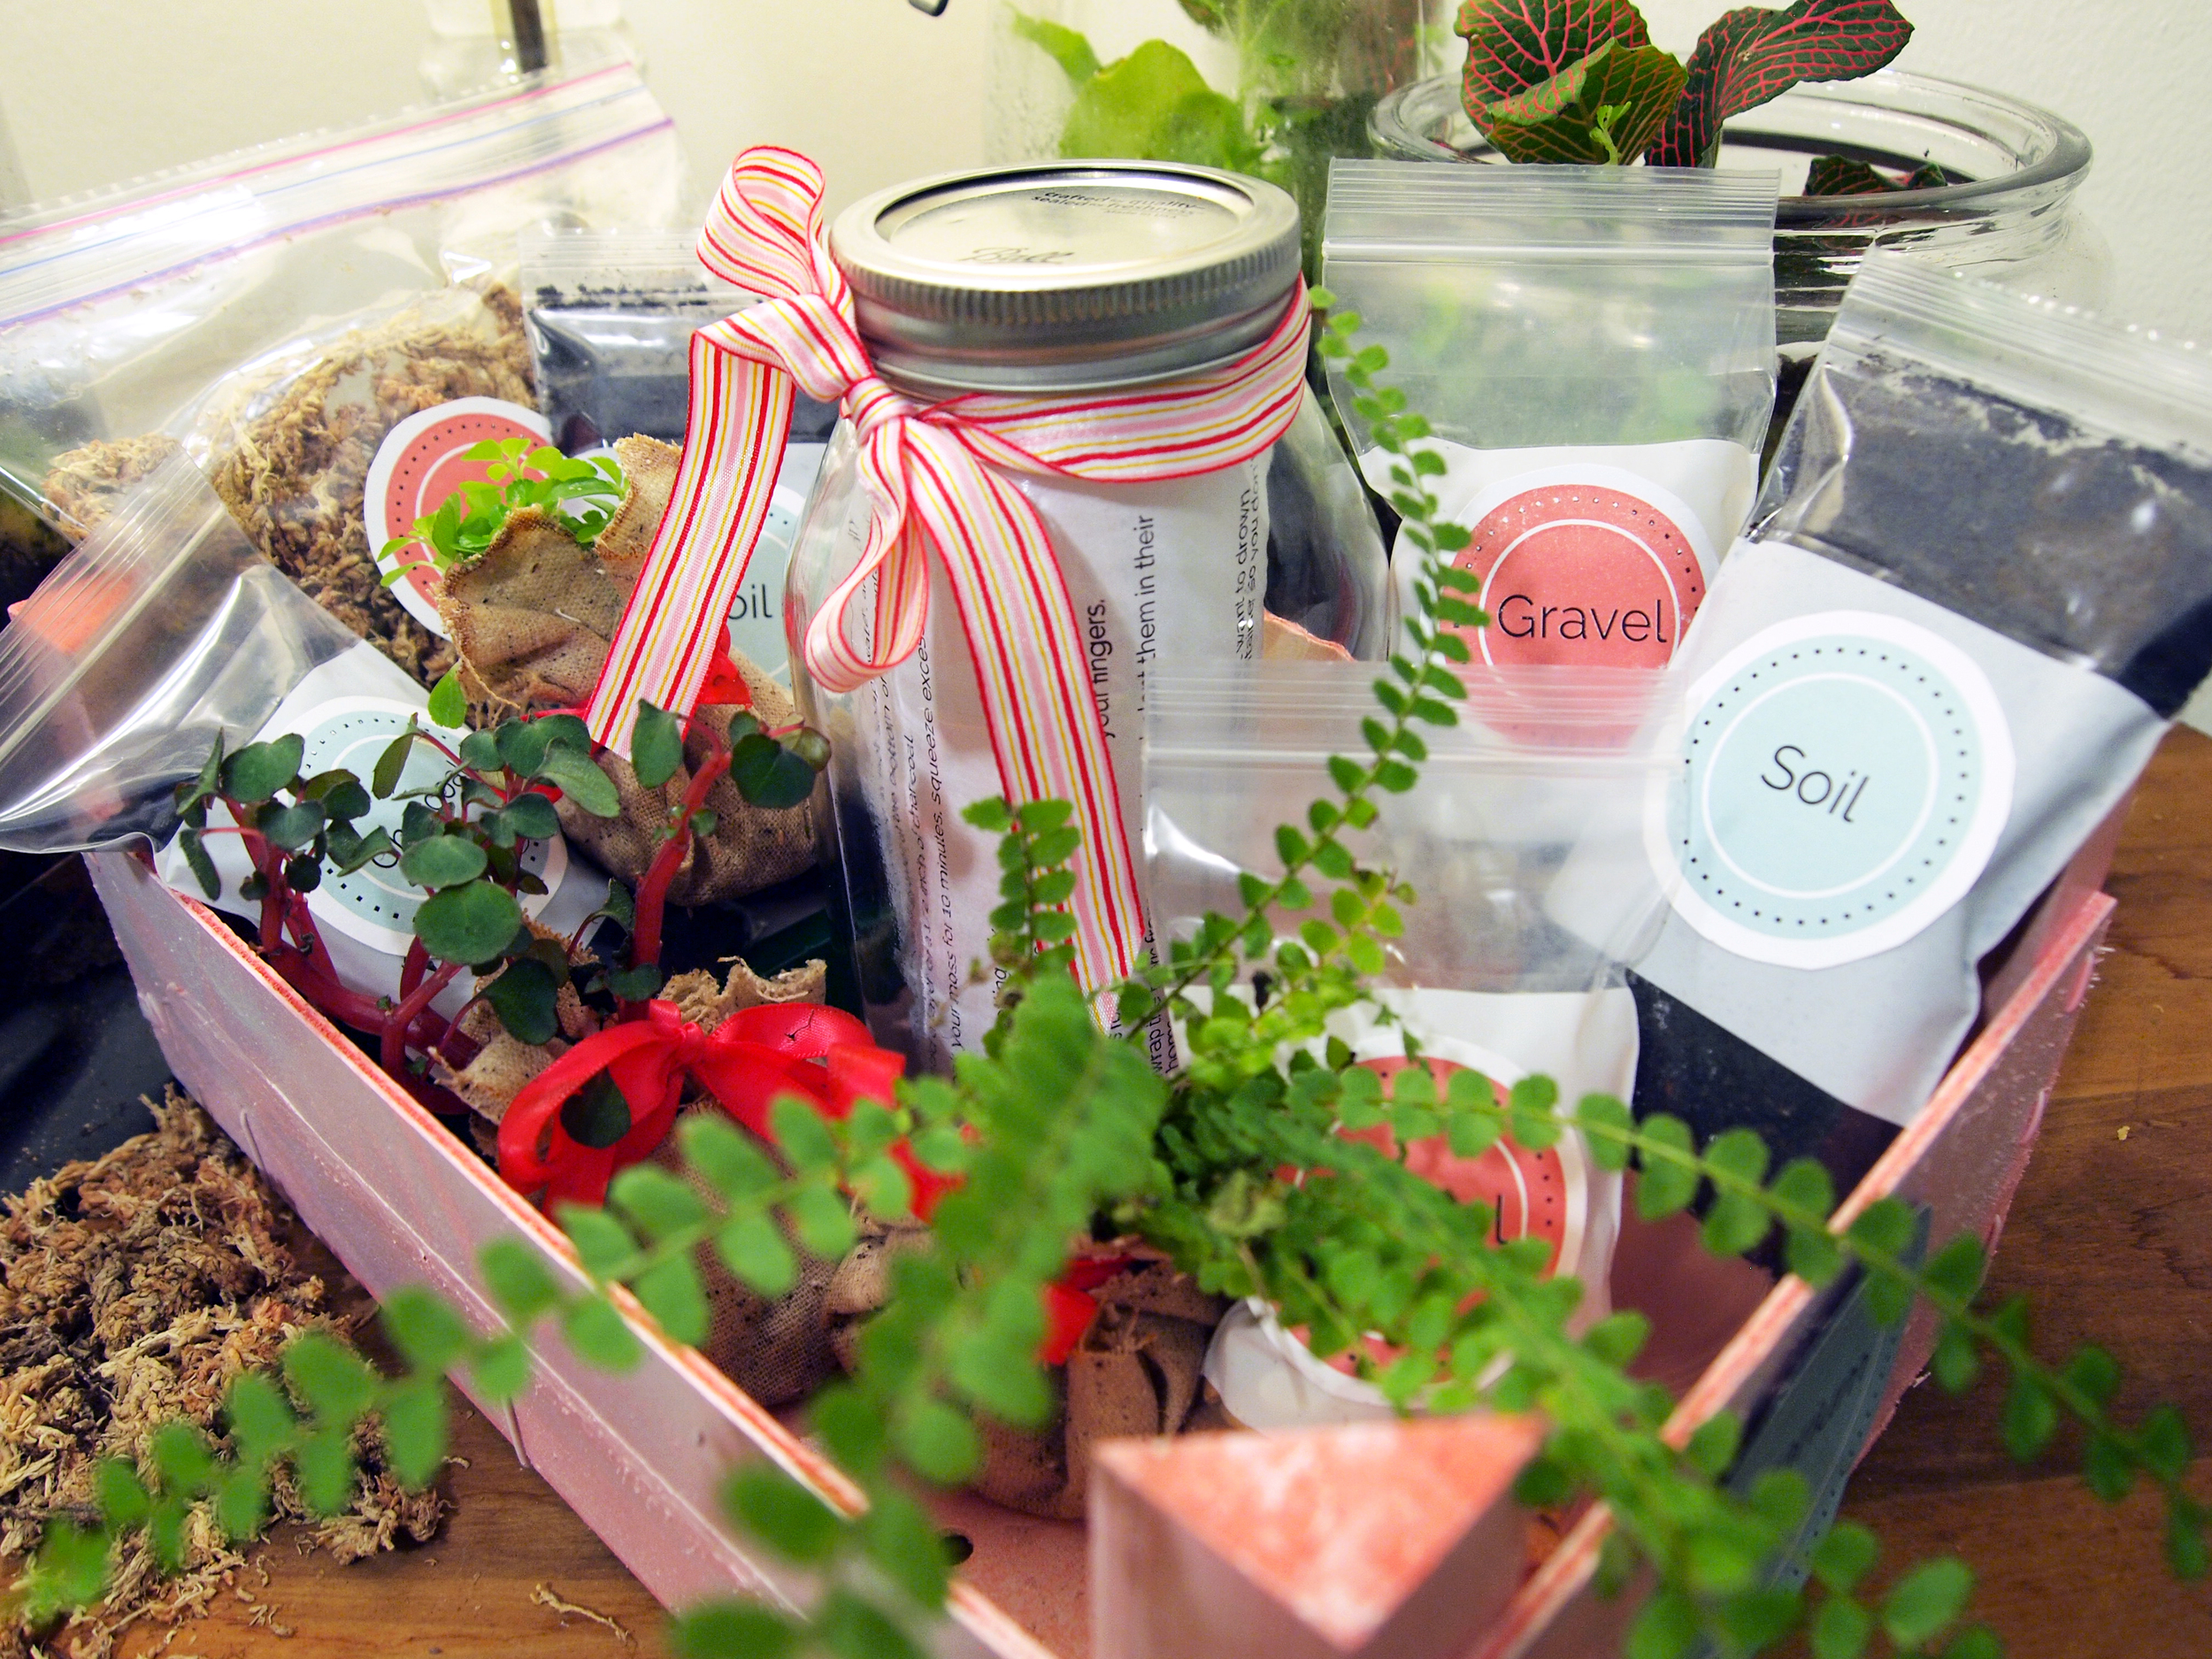
Supplies for the kit:
- Plants
- Potting soil or organic soil
- Sphagnum moss
- Horticultural Charcoal
- Gravel
- A glass container (with a lid, this tutorial is based on covered terrariums for ferns and moisture loving plants)
- Small plastic bags (from the craft store or office supply store)
- Labels sheets or printer paper and glue
- Fabric
- Ribbon
- Small wooden crate (clementine boxes work great!!) or container to package your kit

A Word on Plants

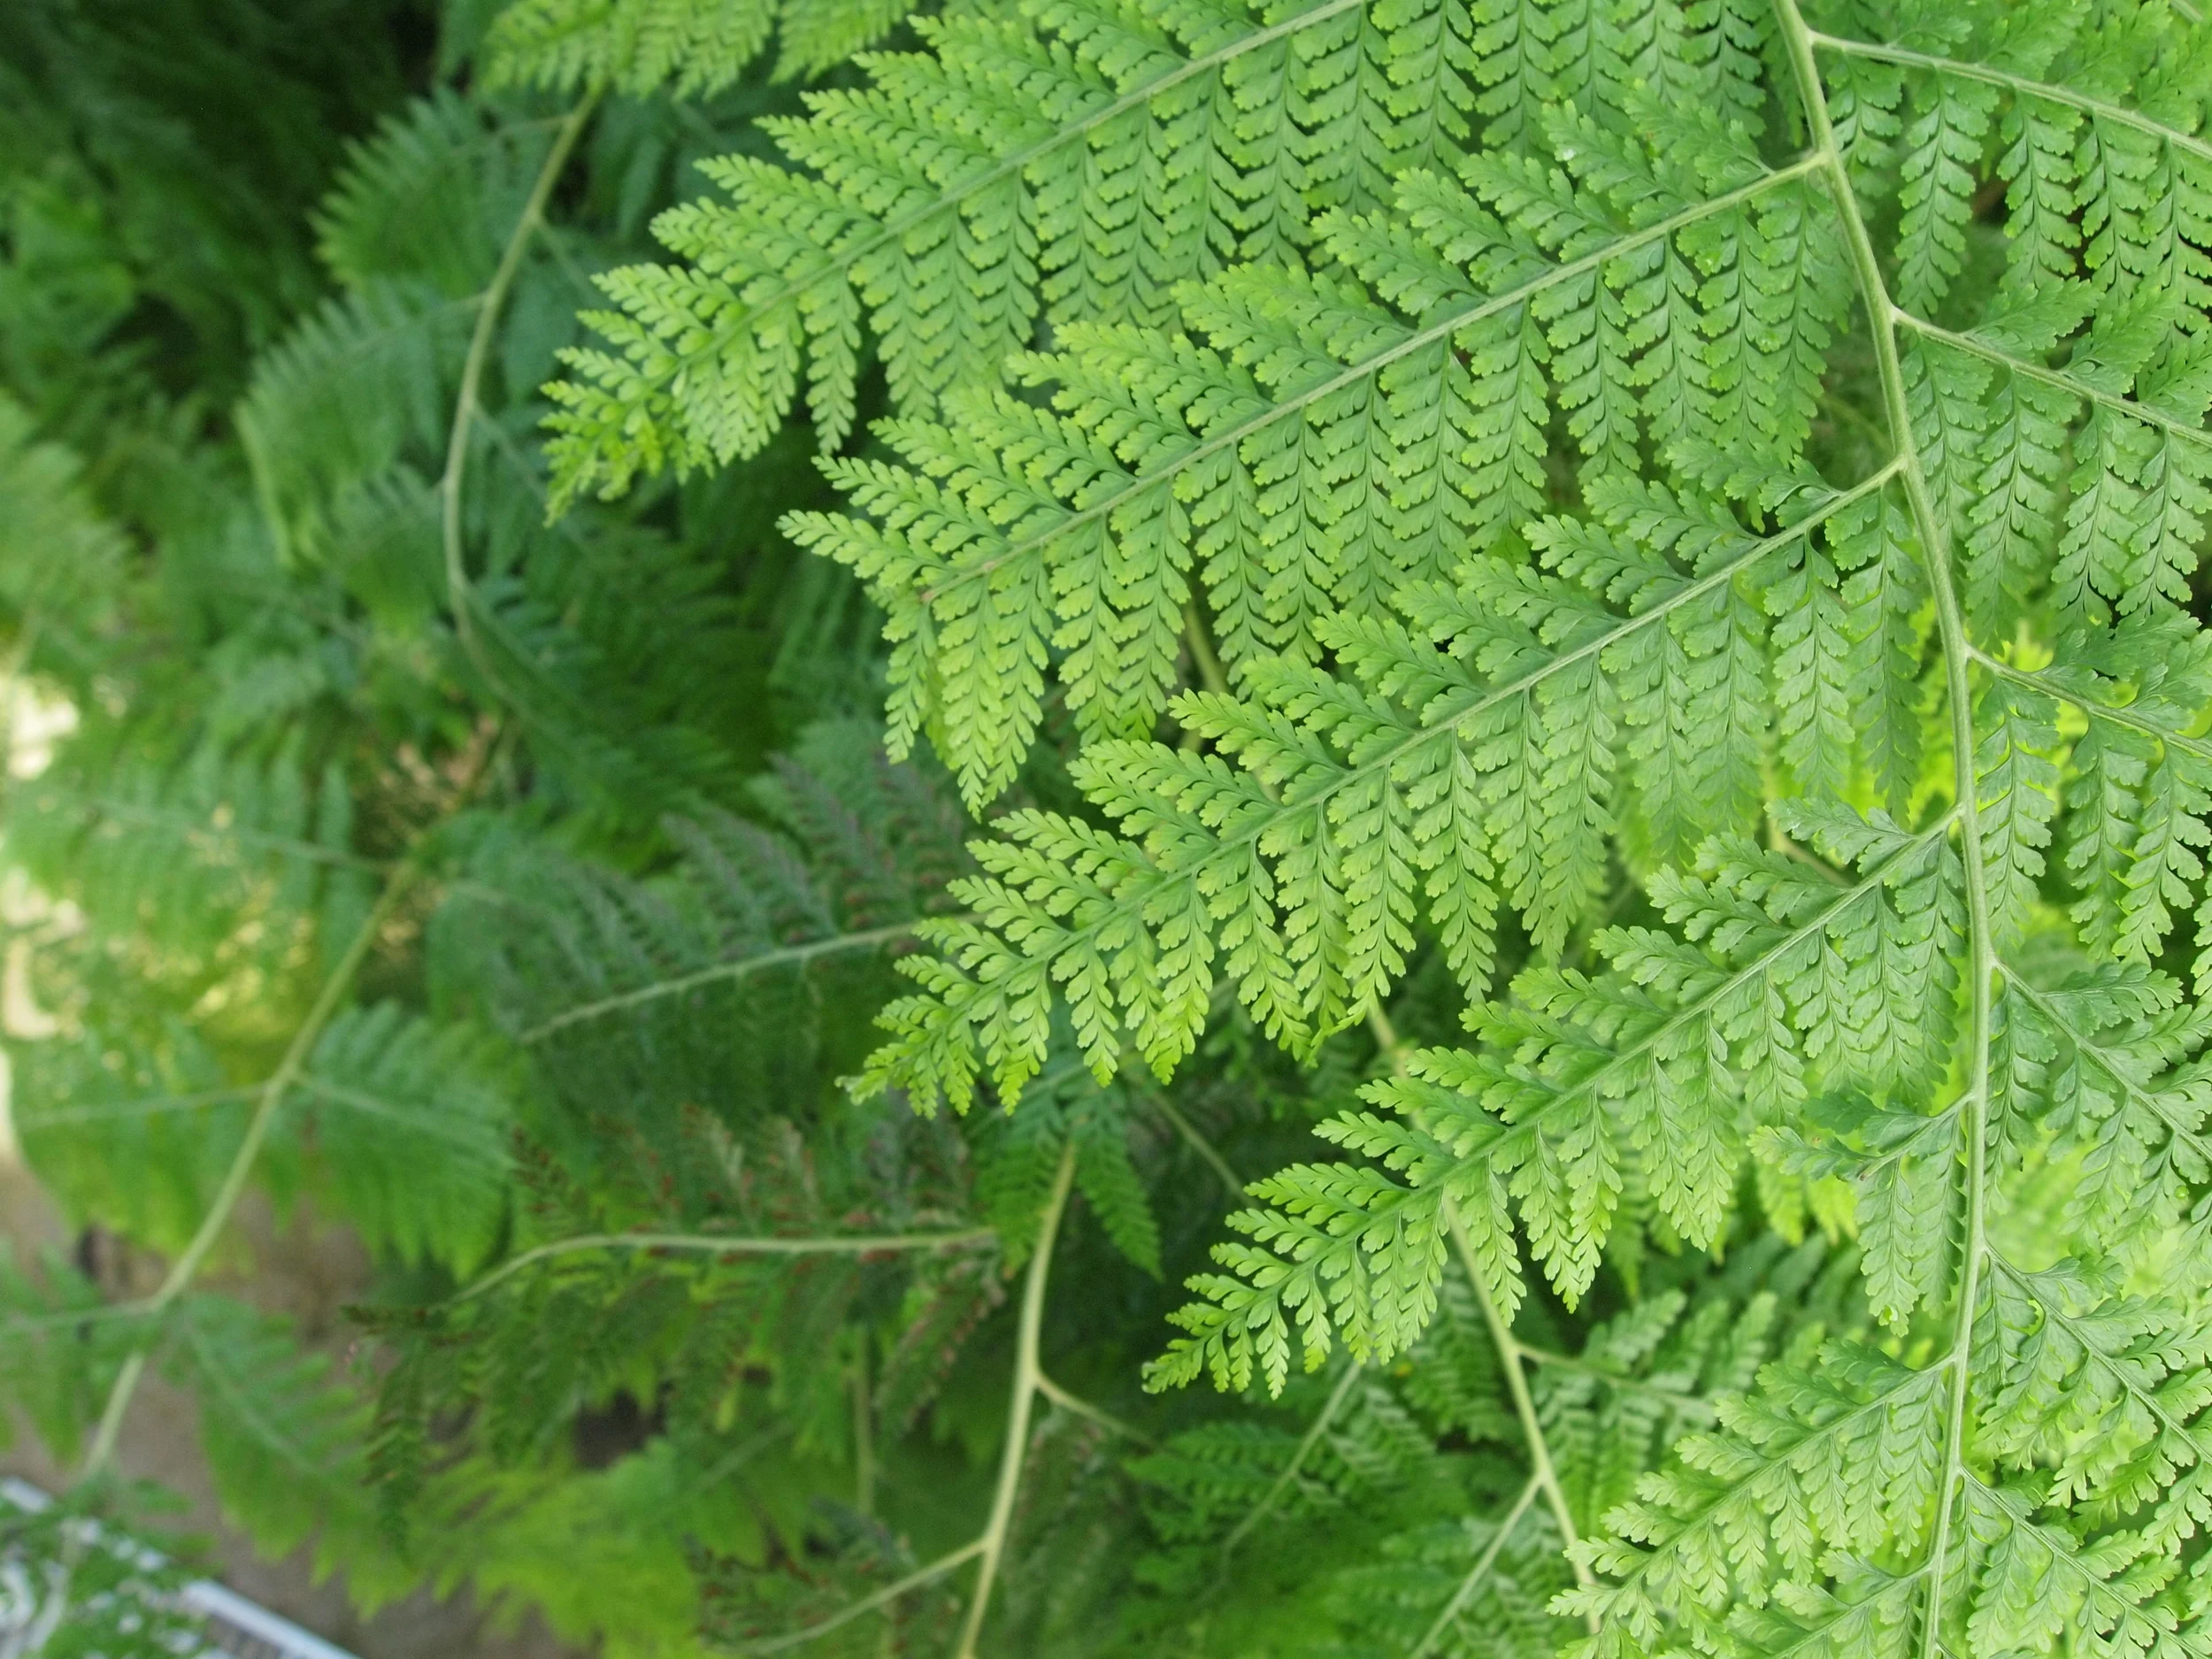
- Choose plants that vary in height, and texture. The differences add more interest to the finished terrarium.
- Make sure your plant will fit in the container when the planting material has been installed, or that your plant is ok being pruned back a bit.
- Choose plants that like the same amount of sun, and water. You can find that out by comparing the information on the tags. For closed terrariums you should find plants that like a medium amount of sun and like a medium to high amount of water. Cacti will not do well in this type of closed terrarium.
- Your nursery might have a section of "terrarium plants." While this is a great place to start, and a good way to get an idea of what kind of plants you can buy, the same type of plants are often sold in larger containers somewhere else in the nursery for the same price or only a few more dollars than the "terrarium plants" in a TINY package that are sold at a premium price. This is great news for us especially, because if you are making a few kits, you can buy the larger plants and split them into a few small plants! The way we're packaging the plants it will look great, either way.
Create your kit
Once you've gathered the supplies we will start to assemble the kit.
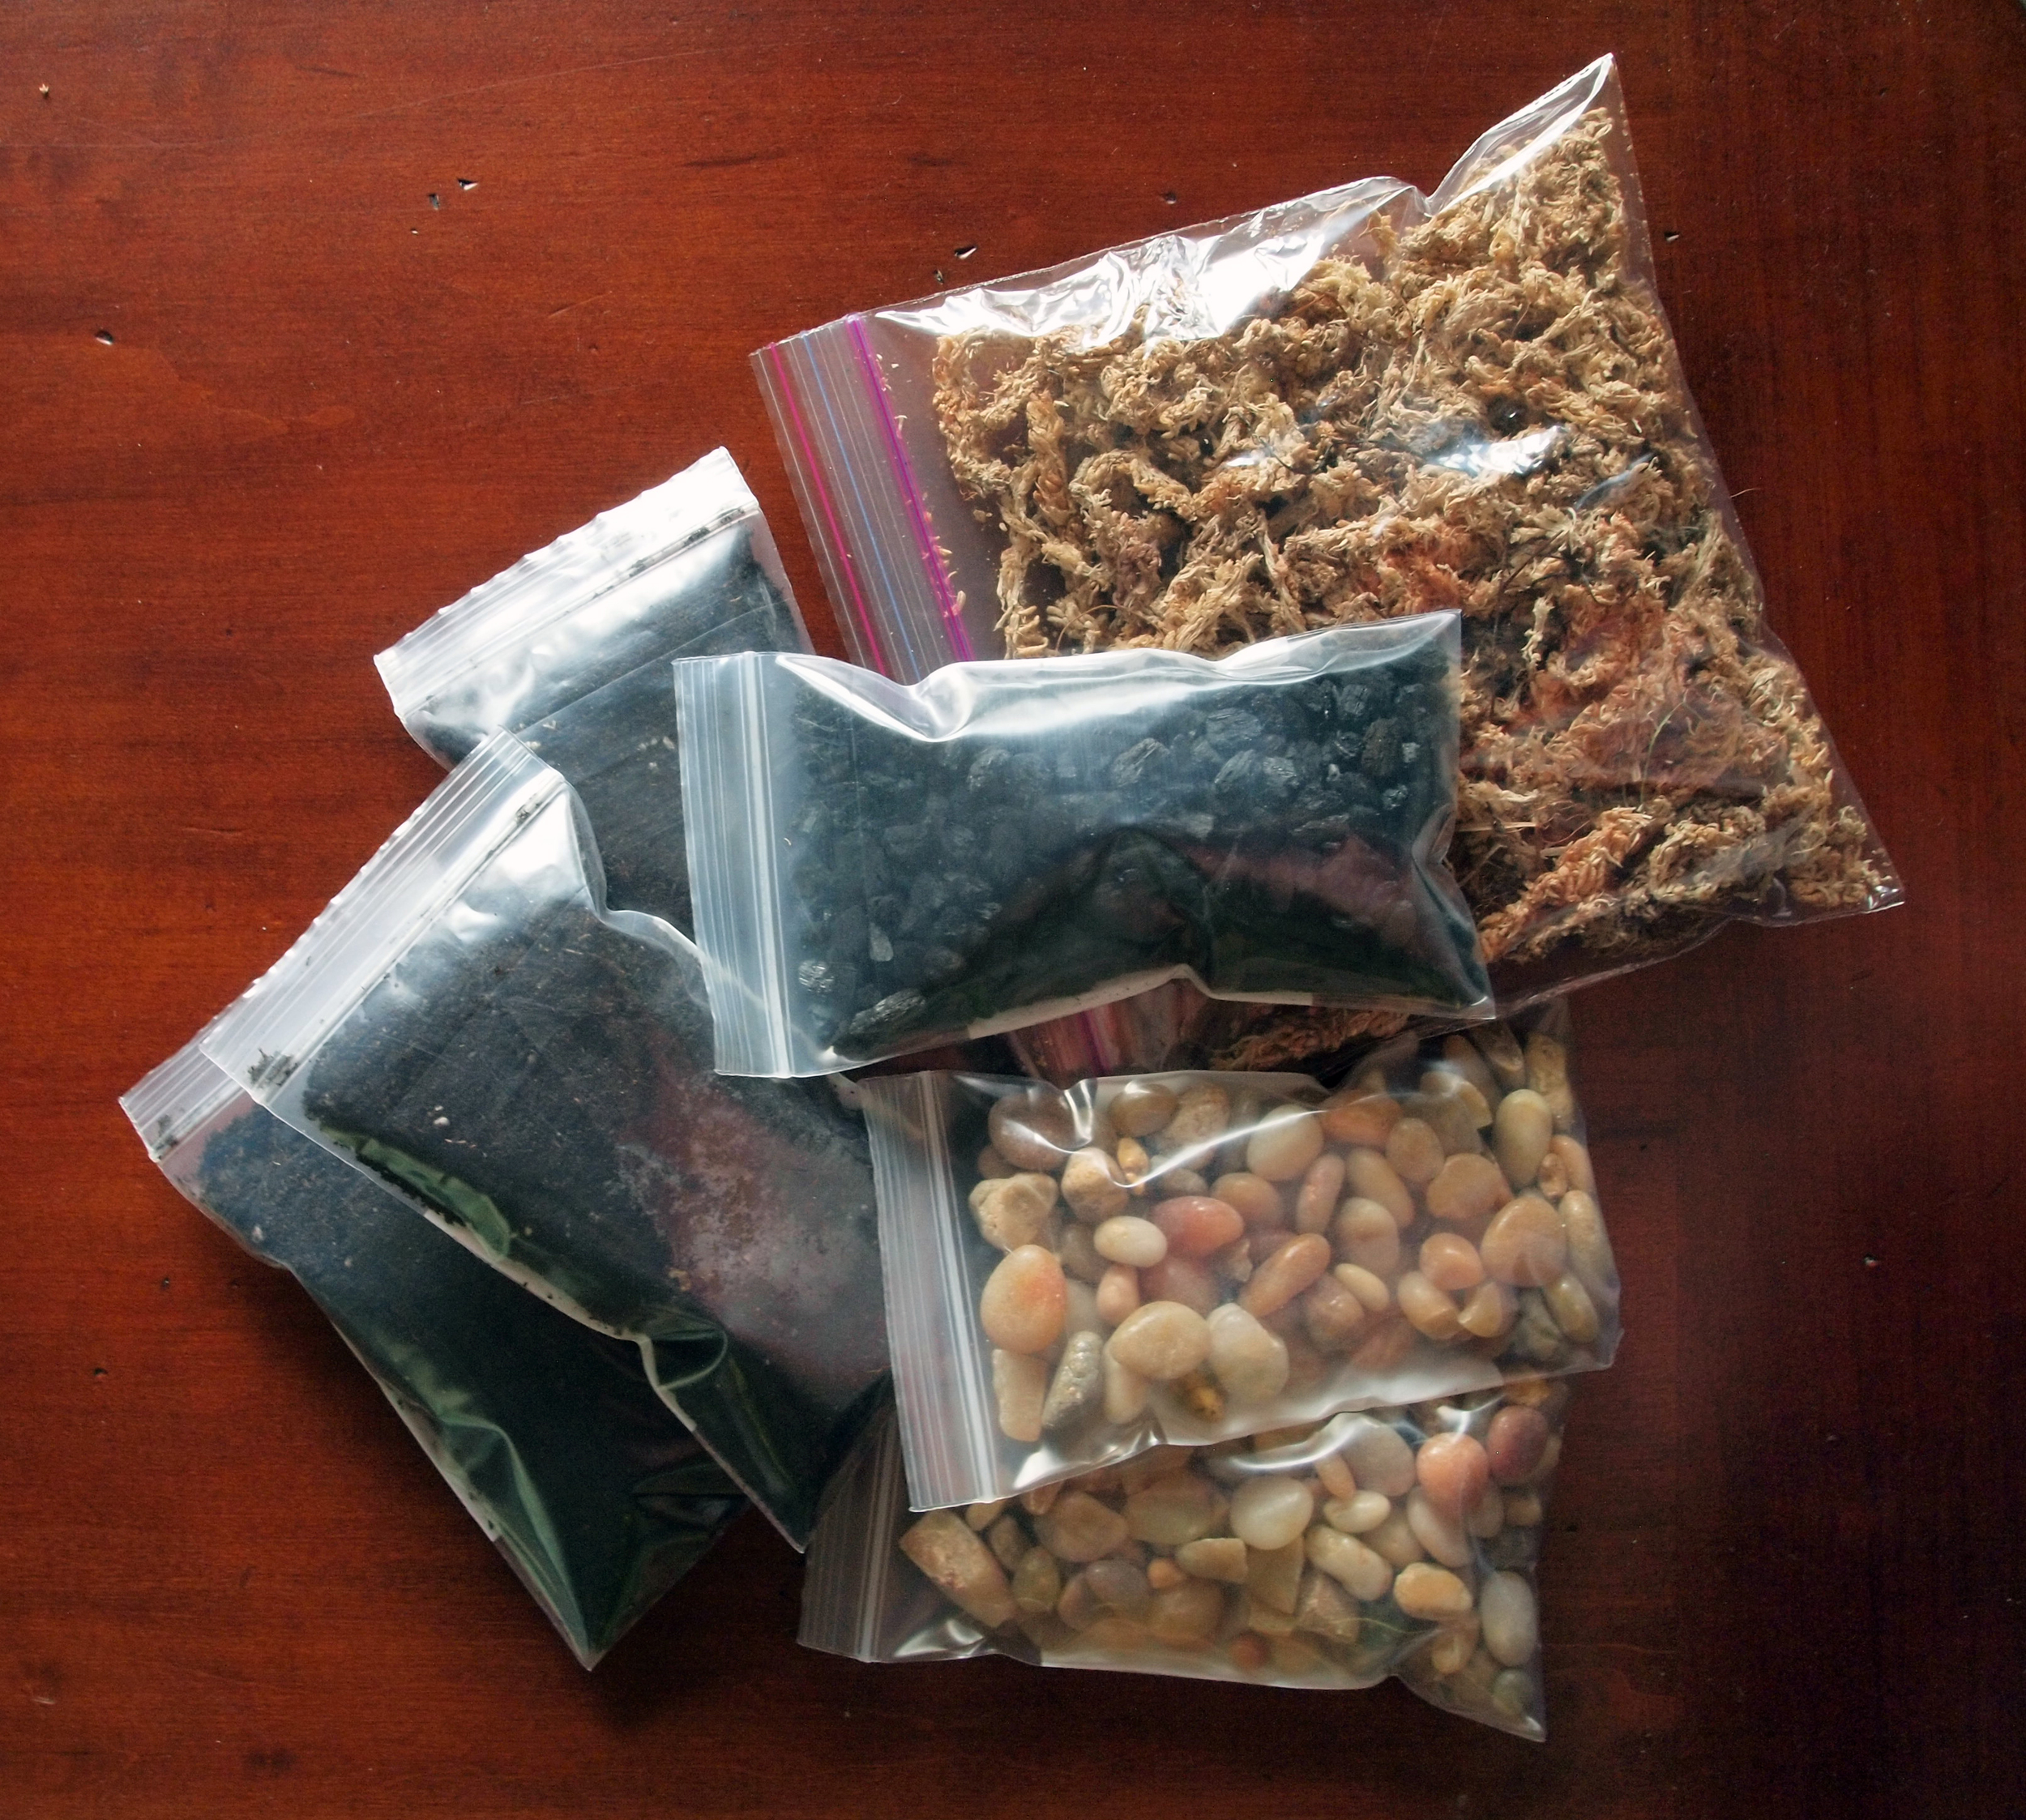

- For each kit, fill three small bags with soil, one small bag with charcoal, one larger bag (I used a sandwich bag) with moss, and two small bags with gravel. You can use the size of your glass jar as a guide, a smaller container will only need one bag of gravel and two bags of soil.
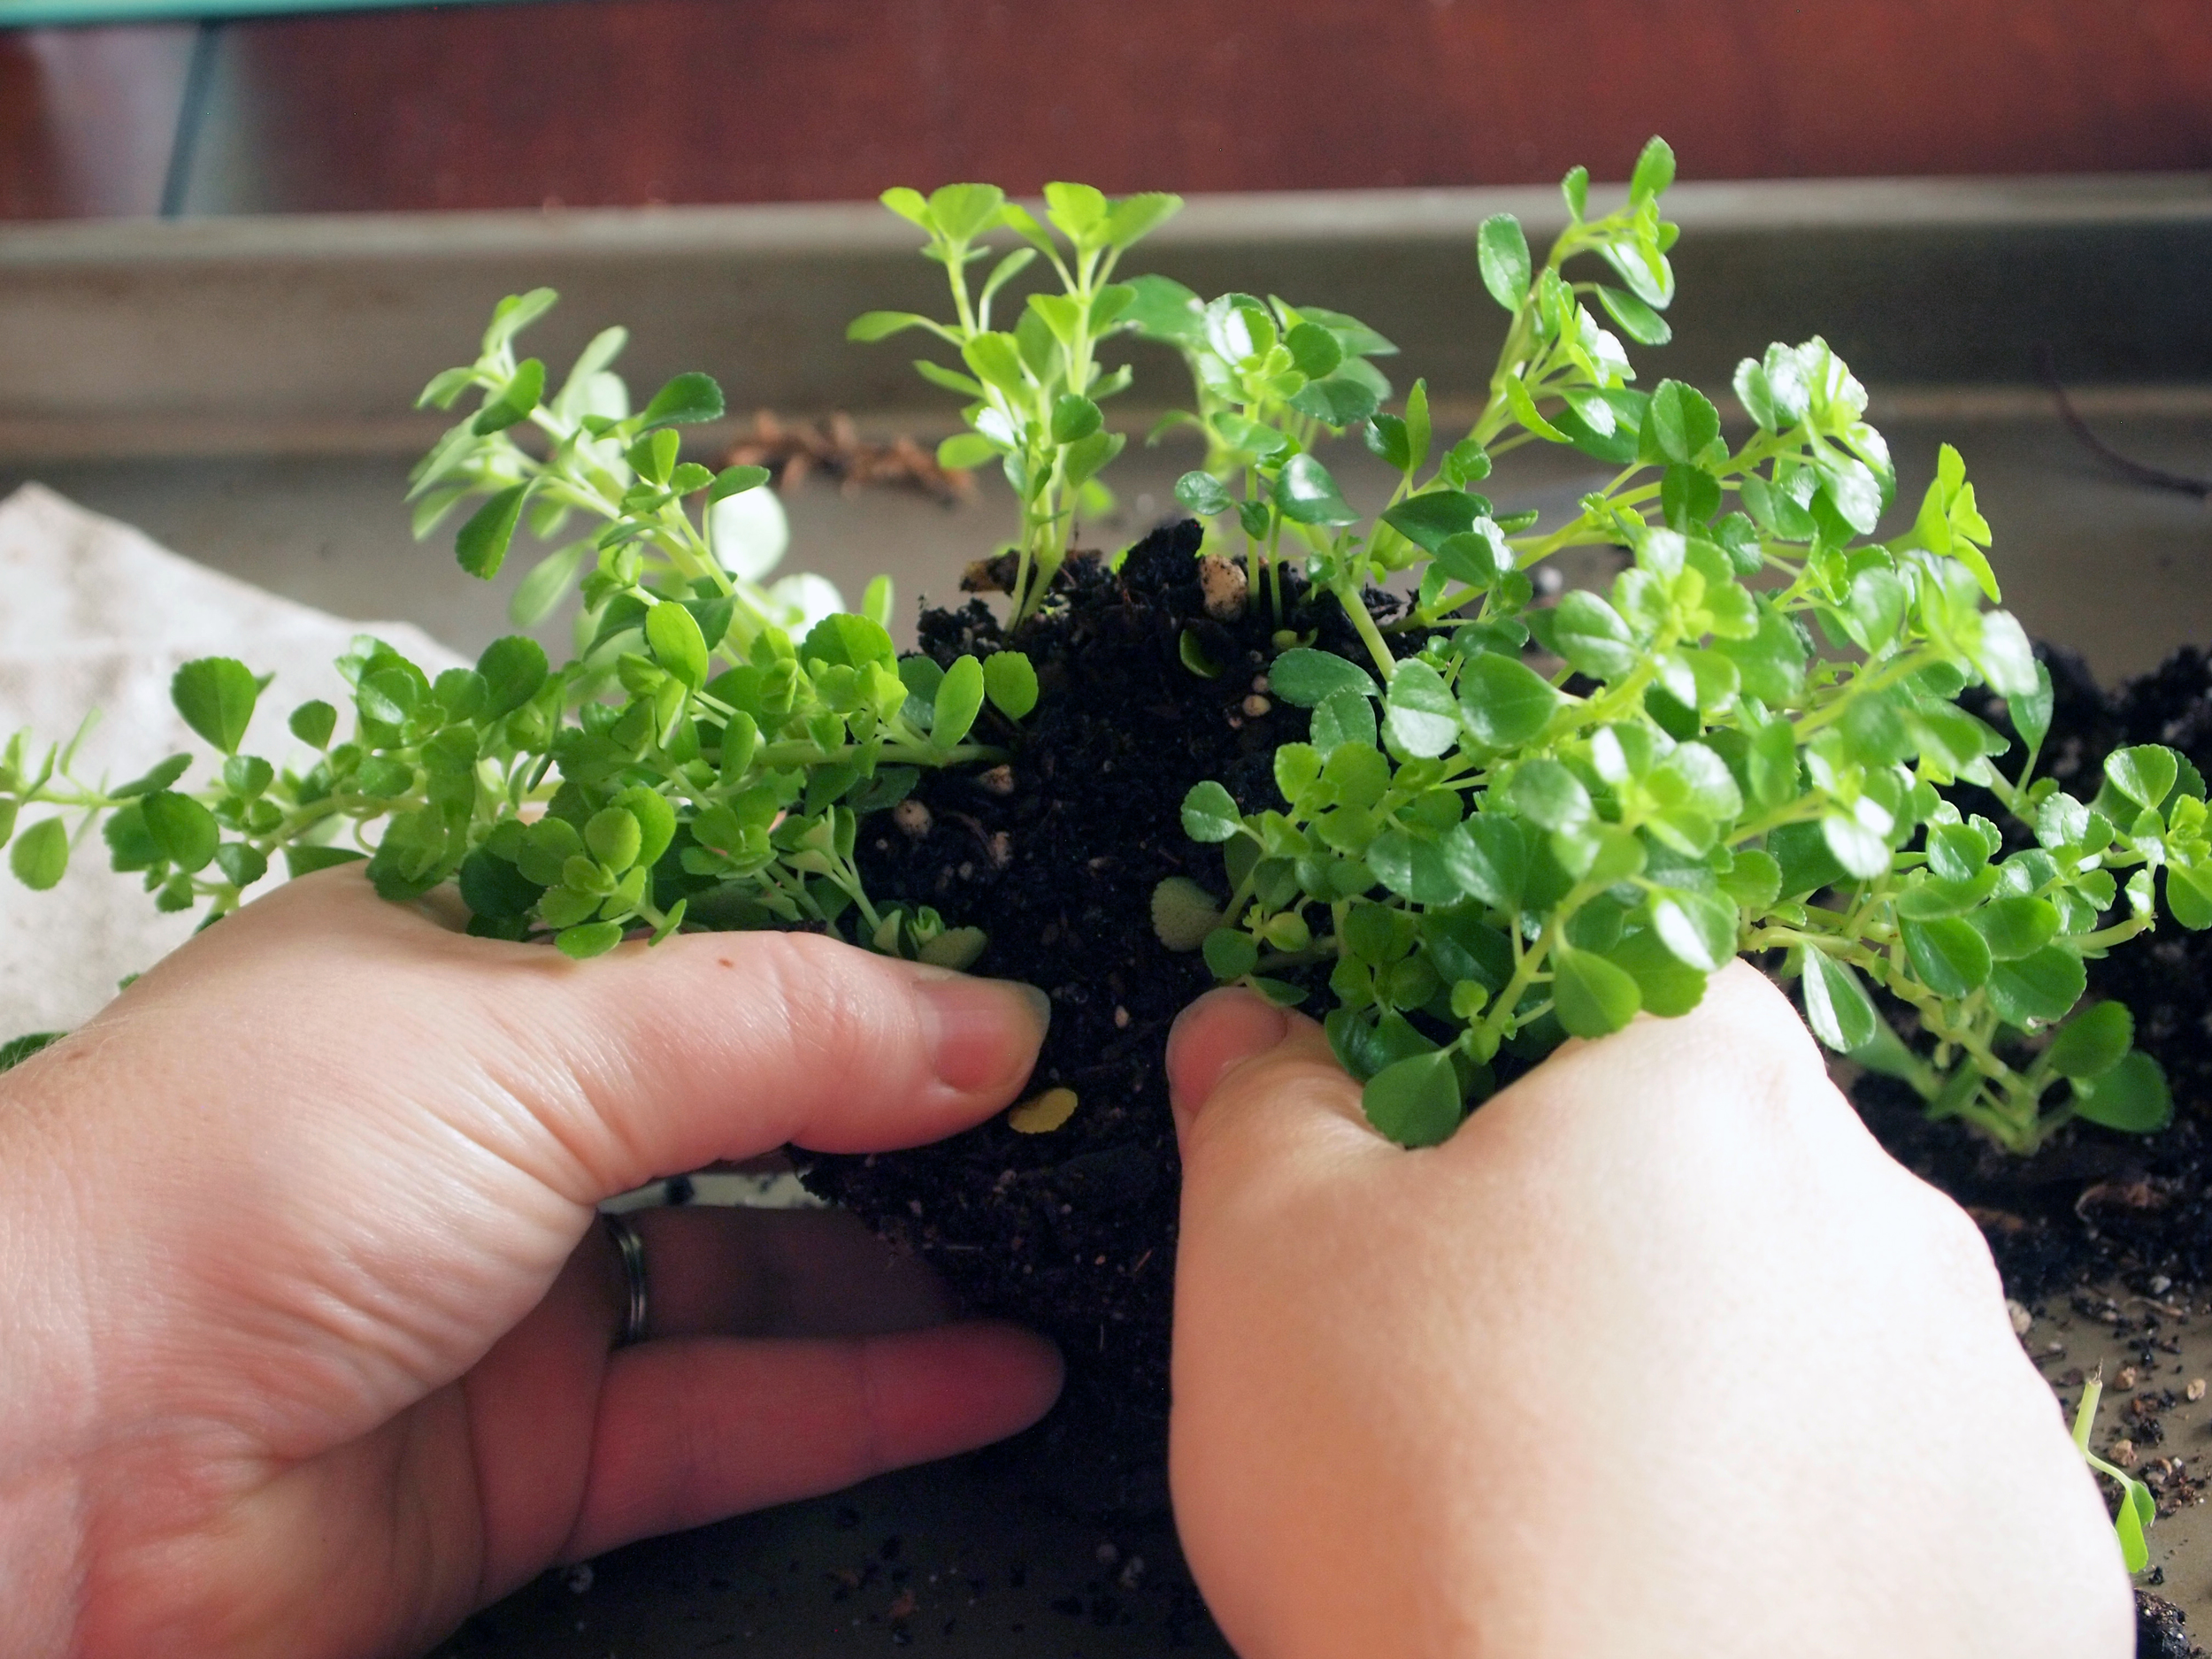
- Split plants into desired size, or use the terrarium sized plants from the nursery. When splitting, look for clear separations in the plant, a lot of times the plant will guide you to where it can be split. If it's really dense use sharp scissors or a gardening knife to just cut through the root ball. I acknowledge that this can be a little daunting, but more often than not, if your plant has enough growth and isn't a very young plant it will do fine with this process. In most cases, don't split the plant into sections smaller than a 2"x 2" block. Remove a bit of the excess soil.
- Cut fabric into 6"x 6" squares, one for each plant.
- Soak a handful of moss in water, squeeze out excess and place some pieces on the fabric to keep the plants moist.
- Center a plant onto the square of burlap. Pull the burlap sides up around the root ball of the plant. Cinch and tie with ribbon.
- Print our instruction sheet and labels for the kit. We made our labels to be printed on the full sheet label paper, no need to line them up, you can just cut out the pieces. Label the supplies and arrange in the box of your choice.
- Give your thoughtful and creative gift, and spread the joy of plants!
Note: If you are giving this gift in the winter, be mindful of the health of your plants. They don't like the cold. Don't leave them in the car, and carry them in a paper bag to protect them from the wind and chilly temperatures.
Directions on Assembling the Terrarium


- Wash your glass container in hot soapy water, and dry
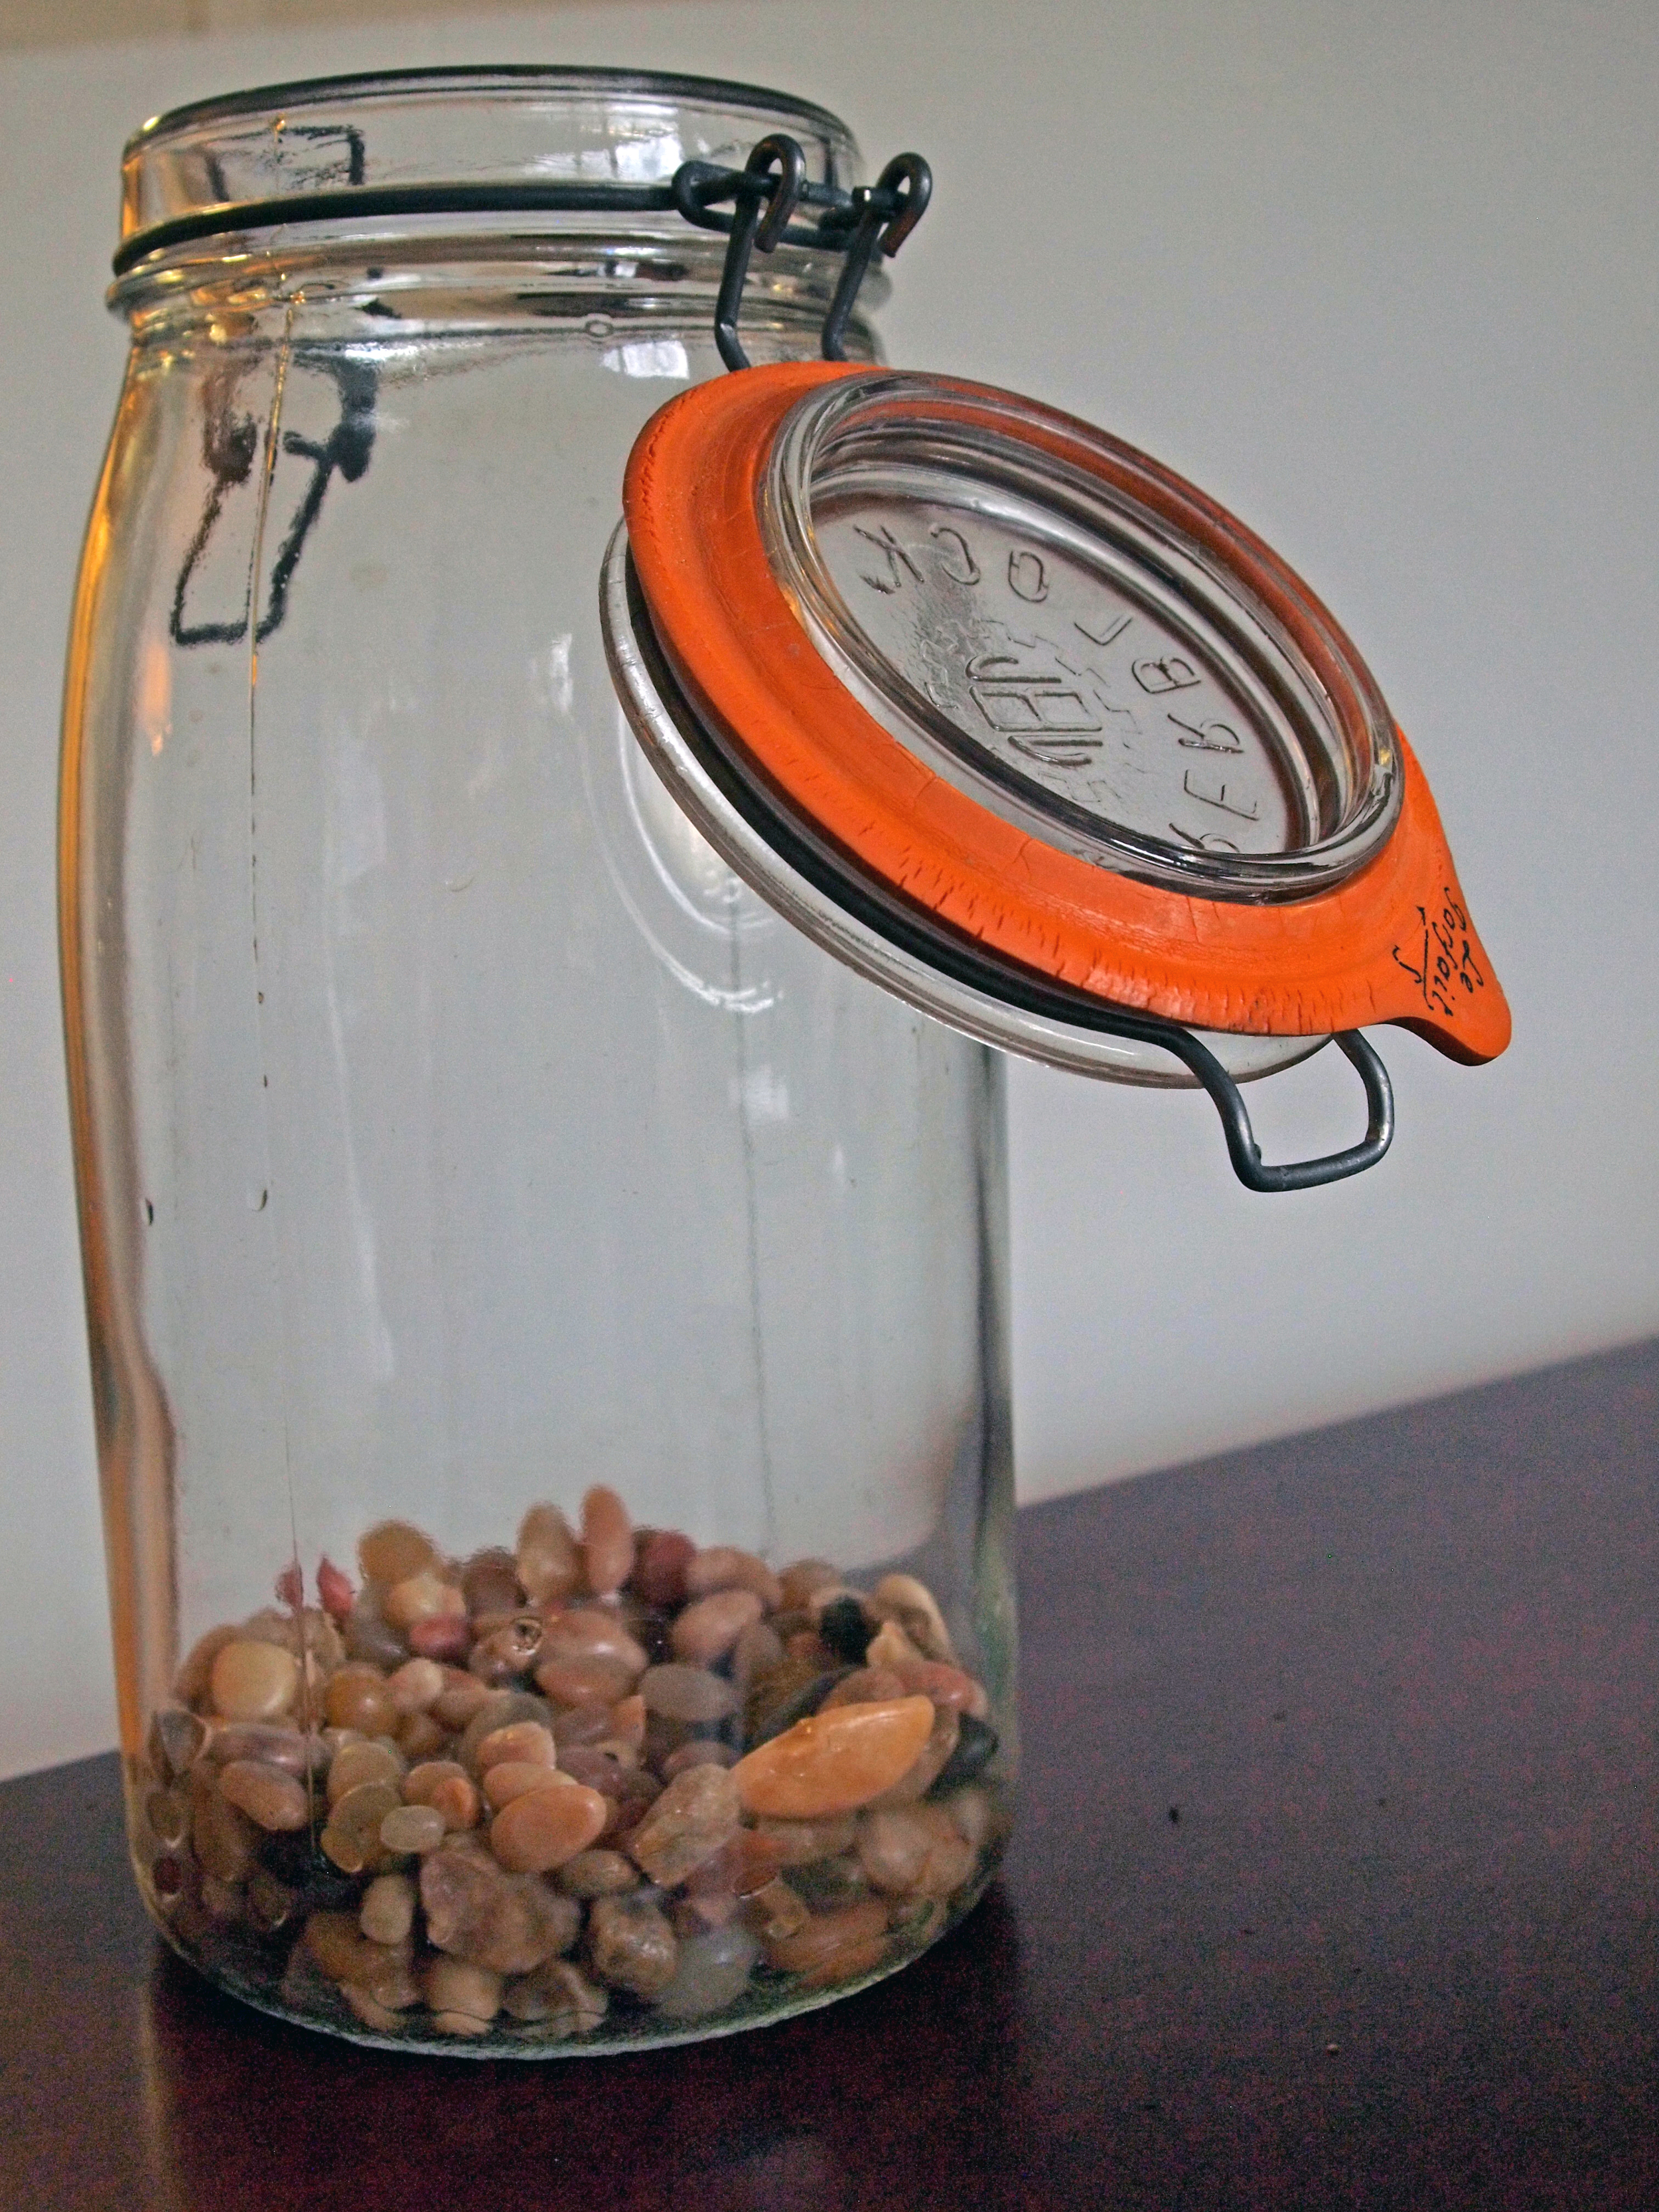
- Put a 1/2 inch of gravel at the bottom of your container.
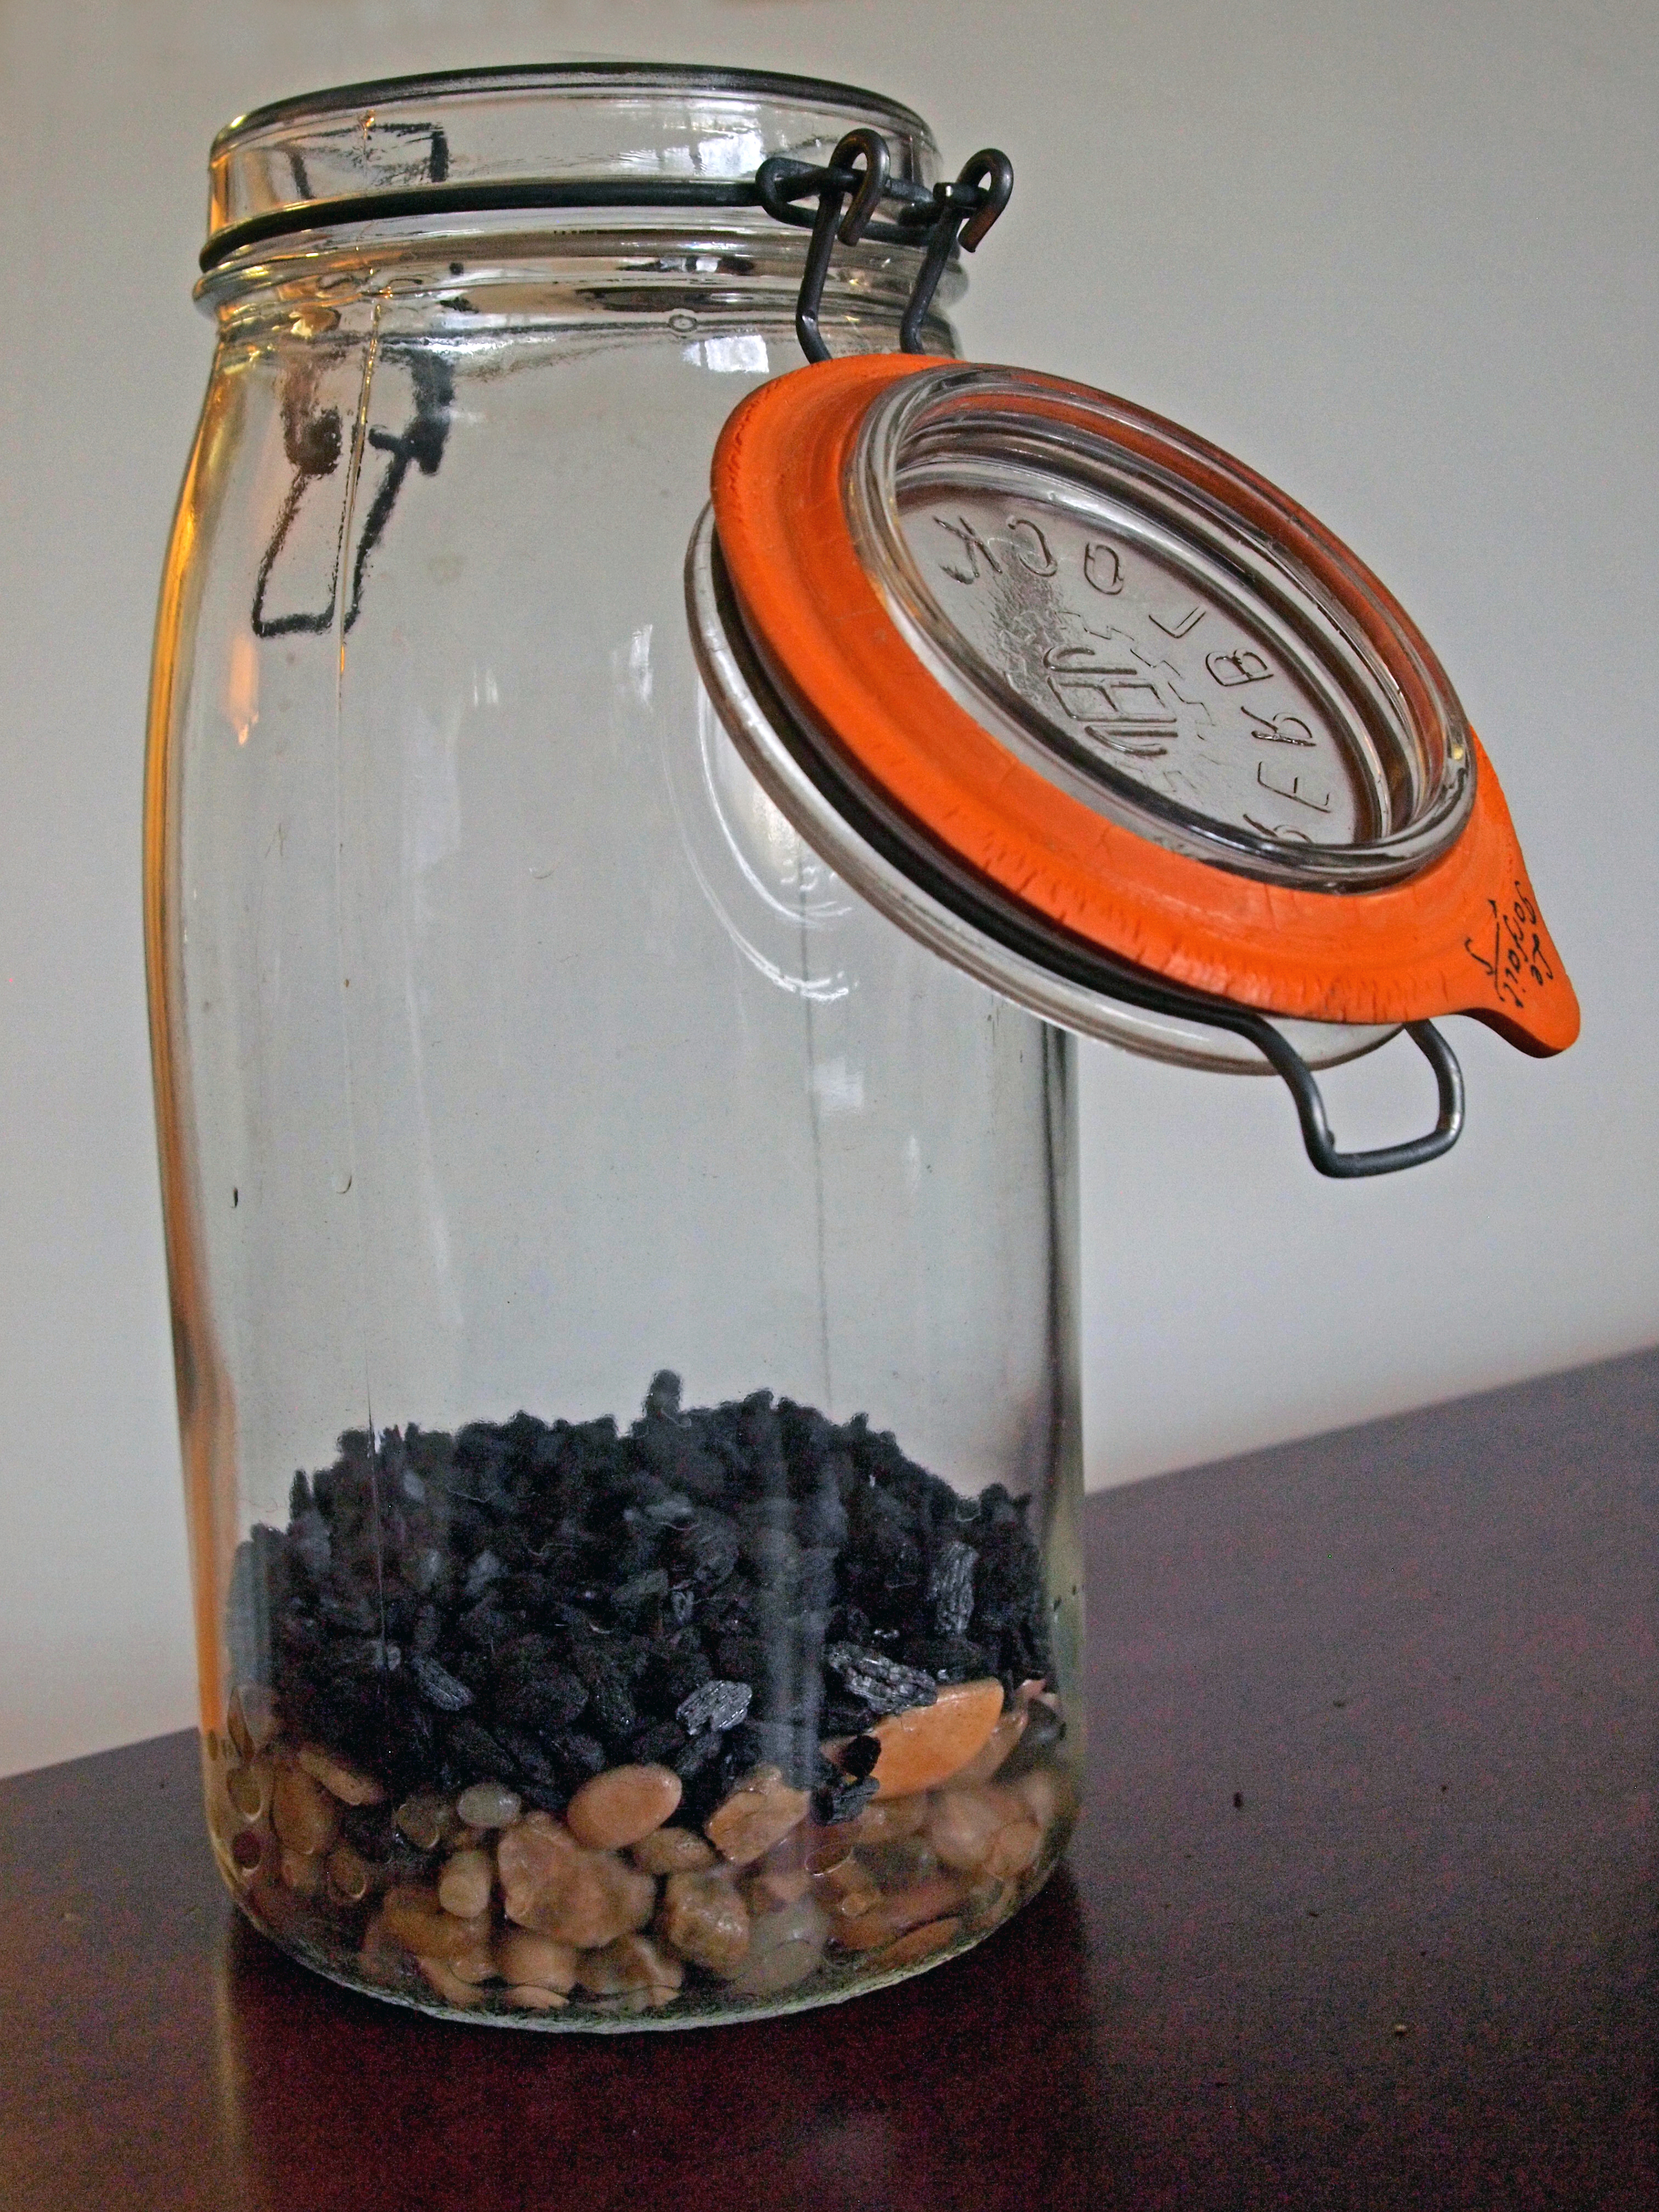
- Add a layer of a 1/2 inch of charcoal.
- Soak your moss for 10 minutes, squeeze excess water and layer.
- Add 2" of potting mix.
- Arrange your plants on the table to get an idea of how you'd like to plant them.
- Dig holes for the plants with a spoon or your fingers.
- Unwrap the fabric from your plants and plant them in their new home.
- Add accessories to your terrarium.
- Only add a little water at a time, you don't want to drown your plants. Water down the side of the container so you don't disturb the plants.
- Put the lid on.
- Place you terrarium in bright light, where it will NOT receive direct sun. It will get too hot inside if place in direct sun.
ENJOY!
Tips:
- Be creative, add soil in different depths to create an interesting landscape
- Add in tiny accessories, maybe all within one theme
- Don't let the soil dry out completely, but also don't over water. Your terrarium is a closed environment, it should only need to be watered every other week.
- If the soil looks very wet or the terrarium is completely fogged up, open the lid to allow for some evaporation for a day.