A Banner For Margo
/


One of my great friends from college just had a baby! Yay! She lives far away and I wanted to send her something special, since I can't descend upon her and give her and her baby in-person love. I decided to make a banner using blackbirds, an image that she uses in her own work, and also used my embroidery skills that have been closeted for far too long.

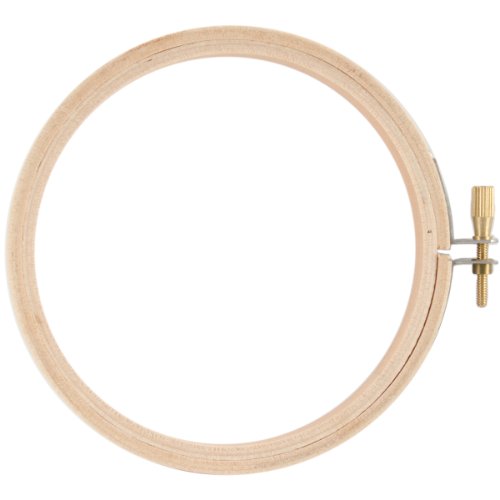
It felt pretty good to get the box of embroidery floss out and flex my stitching muscles. I used a big variety of stitches on the banner and I'm going to show you how to do one of my favorites, the Japanese Darning stitch. That's the stitch I used in that background of the sash that the birds are holding.
The history of darning, repairing or reinforcing worn or damaged fabric, is widespread and was a normal practice before buying new clothes was as easy as buying groceries in the grocery store down the street. Different cultures took on different styles, one of the more decorative and better known styles is sashiko from Japan. I did some quick research to see what the history of this particular stitch is and couldn't find anything specific. Based on the generalized name, my best guess is that the "Japanese Darning Stitch" is a westernized simplification of those Sashiko techniques or a style related to them.

History aside, I chose to share this stitch because of the texture it provides, and the neat detailed shapes, plus the infrequency of use; I don't see it very often. Like Maria Von Trapp says "Let's start at the very beginning," with the basic darning stitch.
The Darning Stitch
I used different colors to help differentiate rows and steps, hopefully easier for you to visualize. All of these pictures can be clicked on so you can get a closer look.
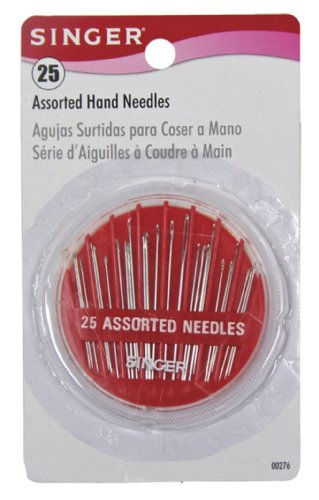
Start your needle with a knotted thread at the back of your fabric
Bring it through to the front. Use the needle to pick up a few threads, bring the needle across the fabric, now pick up a few more threads, and pull the thread all the way through; repeat until the end of your row. The difference between the darning stitch and the running stitch is the darning stitches are long with small smaller spaces in between and a running stitch has even stitches and spaces.
The next row is going to be off center from the first, meaning the new stitch will be centered over the previous row's space, and this row's space is centered over the last row's stitch.
Here is a picture with lines drawn over the stitches, showing you how the stitches and spaces are aligned. Again, you can click on this to make it bigger.
Fill in your shape with the darning stitch.
Now we'll add in the next steps to make it a Japanese Darning stitch...
Japanese Darning Stitch
Pull the thread through at the right side of a stitch (purple row). In the row above (orange), insert the needle in one side of the space where the thread goes behind the fabric, bring the needle back to the front of the fabric at the same place as the row's stitch comes forward. Pictures are below each instruction.
Bring the thread to the first row (purple), thread it through the space where the original row (purple) goes behind the fabric.
Back to the orange row, follow the orange thread behind the fabric and back out again. Repeat these steps to the end of the row.

Once you finish the row, bring the thread the left of an orange stitch, go the the next row (purple) and do the same steps in reverse. Follow the purple thread behind and then in front of the fabric.
Now, back down to the orange row, bring the thread behind the fabric with the orange thread, and then back to the front. Now you'll start to see the hourglass shapes form.
Continue across the row, proceed to the next row and finish filling in your shape.
That is the basic structure for the Japanese Darning stitch. If your stitch ends at a funny spot on the edge, just fill in the missing spaces with single stitches.
Here is the stitch completed over an area in the three color version, and then the single color for comparison.
Do you think you can use this stitch in your own work? I love the look when you fill in large spaces with it. You can even use it as a base and then work on top. Now get stitchin'!